I still remember the first time I tried applying strip lashes. They ended up crooked, one corner was lifting, and I almost gave up.
But once I figured out the right steps, it became second nature. In this blog, I will show you how to apply strip lashes the right way – from prepping your lashes to blending them for a natural finish.
You will get a step-by-step guide, beginner hacks, and pro tips. I have been doing this for years, and I promise – it is easier than it looks.
How to Apply Strip Lashes Like a Pro

Get the basics down fast with this beginner-friendly section before moving into the full process.
Before anything else, get your tools ready. You will need strip lashes, lash glue, small scissors, tweezers, a mirror, mascara, and eyeliner.
Clean your eyelids with micellar water to remove oil. Oil breaks down glue fast. Once ready, measure the strip, trim it, apply glue, and wait until tacky.
Press it along your lash line, secure the corners, and finish with eyeliner to blend. Keep your eyelids clean, glue tacky, and tweezers handy for the best results.
How to Apply Strip Lashes Step by Step
This is the full process broken down clearly so anyone can follow along without confusion.
Step 1: Prep Your Natural Lashes

Start with clean, dry lashes. If you wear mascara, apply a light coat first and let it dry. This helps the strip lash grip your natural lashes better.
Curling your natural lashes before applying the strip also helps blend them together more easily.
Step 2: Measure and Trim the Lash Strip

Hold the strip lash against your eye without glue. The lash should start where your natural lash line begins and end at the outer corner.
If it is too long, trim from the outer edge using small scissors. Never trim from the inner corner – it will ruin the shape.
Step 3: Apply Glue and Wait Until Tacky

Apply a thin line of glue along the lash band. Use the tip of a toothpick or a small brush for more control. Wait about 30 to 45 seconds.
The glue should feel slightly sticky, not wet. Applying lashes with wet glue is one of the most common mistakes and causes sliding.
Step 4: Apply Strip Lashes on Yourself

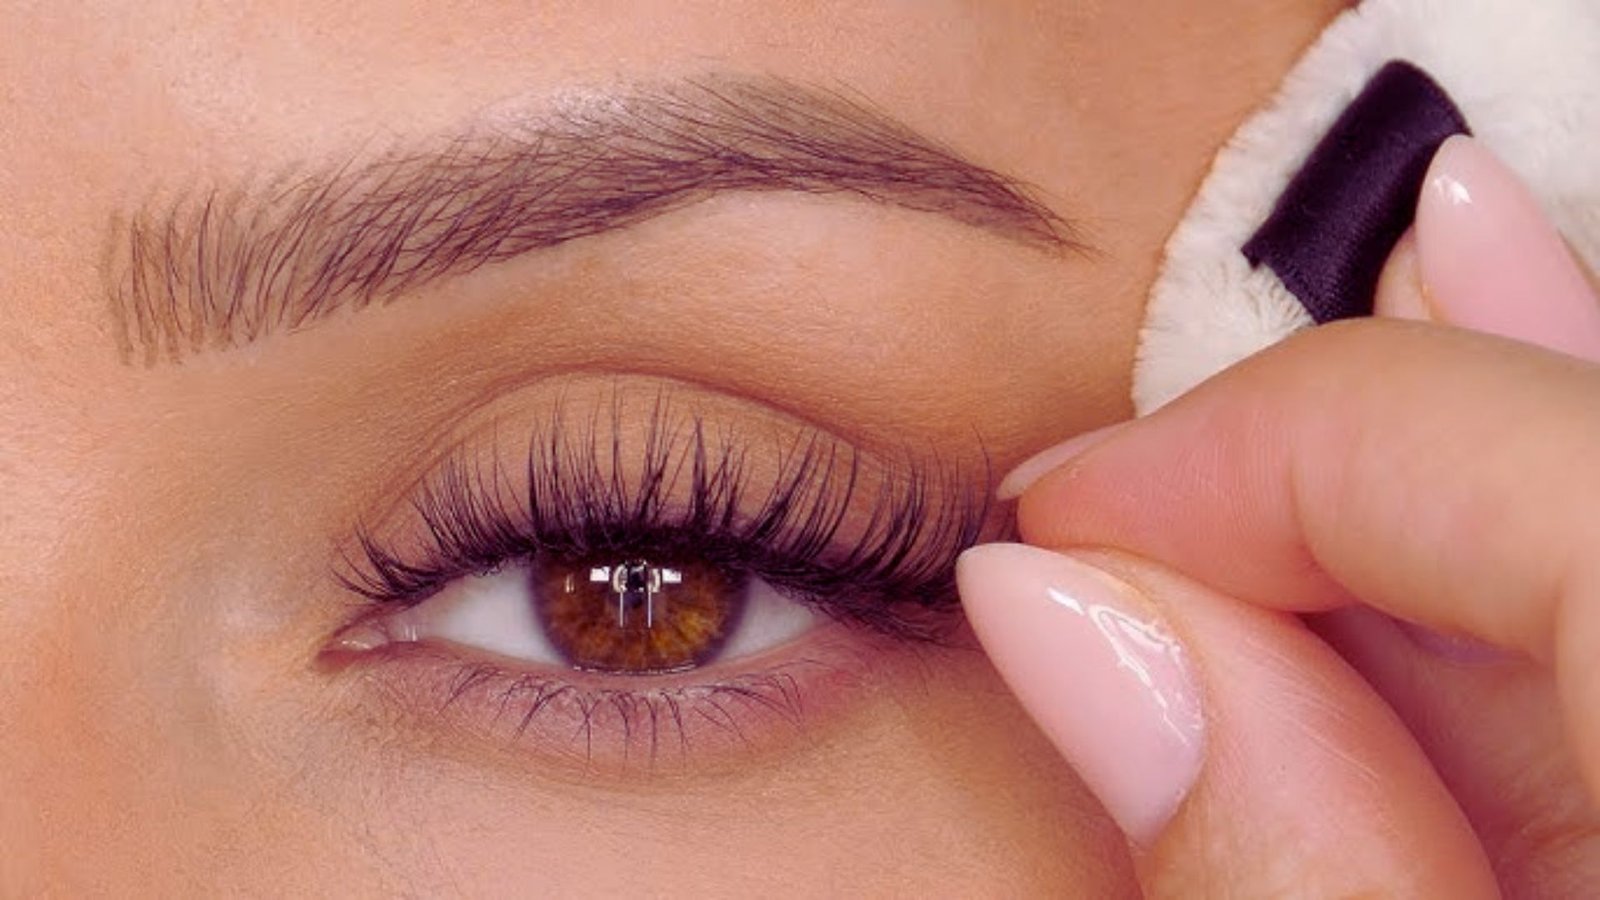
Look straight into a mirror placed flat on a table. Tilt your chin down slightly. Use tweezers to hold the center of the lash strip.
Place the center of the lash on the center of your lash line first. Then press down the inner and outer corners. This method gives you the most control when applying strip lashes on yourself.
Step 5: Secure and Adjust the Lash Strip

Once the strip is in place, press it gently along your lash line using the back of your tweezers or your fingertip. Hold for a few seconds.
If a corner is lifting, add a tiny drop of glue and press again. Work quickly before the glue dries fully.
Step 6: Blend for a Natural Instagram Finish

Run a thin line of black eyeliner along the lash band to cover it. Use mascara to bond your natural lashes with the strip.
This step is what separates a natural-looking result from an obviously fake one. Blending is the secret Instagram pros use every time.
Beginner Hacks to Apply Strip Lashes Easily

Simple tricks that make the whole process less stressful for first-timers and beginners.
Choose Lightweight Lashes for Better Control
Heavy lashes are harder to control, especially for beginners. Start with a lightweight, natural-style strip.
They sit better, lift less, and are easier to handle. Once you are comfortable, you can move on to fuller styles.
Use Tweezers for Precision Placement
Fingers are hard to control near your eyes. A good pair of angled tweezers gives you the precision you need.
Hold the lash band at the center and lower it into place. This trick alone will make a big difference in how your lashes turn out.
Practice the Mirror Trick for Better Results
Place a flat mirror on a table and look down into it. This angle makes it much easier to see your entire lash line.
Most beginners struggle because they are trying to apply lashes looking straight into a wall mirror. The flat mirror trick changes everything.
Mistakes That Ruin Your Strip Lash Look

Avoid these common errors to get a clean, polished look every time.
Applying Lashes with Wet Glue
This is the number one mistake. Wet glue causes the lash to slide around on your eyelid.
Always wait until the glue turns slightly clear and feels tacky before placing the strip. Patience here saves you a lot of frustration.
Placing Lashes Too Far from the Lash Line
If there is a gap between your strip and your natural lash line, it looks unnatural and can feel uncomfortable. Always press the strip as close to your lash line as possible.
The band should sit right on top of your natural lashes, not above them.
Skipping Lash Blending
Putting lashes on and calling it done is a mistake. Skipping mascara and eyeliner means the band is visible and the look looks fake.
Blending takes 30 seconds and makes a huge difference. Do not skip this step.
How to Make Strip Lashes Look Natural and Last Longer

Keep your lashes looking great all day with these easy care and styling tips.
Blend Lashes with Mascara and Eyeliner
Apply one coat of mascara after placing your strip. This bonds your real lashes with the strip and creates a seamless look.
Follow with a thin line of black liner along the band. These two steps make any strip lash look more natural.
Fix Lifting Corners Easily
Corners tend to lift throughout the day. Keep a small tube of lash glue in your bag.
When a corner lifts, apply a tiny dot of glue, wait for it to get tacky, then press the corner back down and hold for 10 seconds.
Clean and Reuse Your Strip Lashes
After removing lashes, peel off the old glue from the band gently. Store them back in the tray.
Most quality strip lashes can be reused 10 to 15 times if you care for them properly. This saves money and keeps the shape intact.
Pro Tips to Apply Strip Lashes Like Instagram Pros
These are the finishing touches that take your lash game from good to great.
- Apply black gel liner over the lash band to hide it completely for a seamless look.
- Use a fine-tip brush for a clean, precise line along the band.
- Always check both eyes in the mirror and adjust before the glue fully sets.
- Hold a pencil horizontally under your eyes to compare lash height for symmetry.
- Use a lash applicator tool and keep your tools organized for faster, cleaner placement.
Conclusion
Honestly, once you apply strip lashes a few times, it stops feeling hard. I was terrible at first too, but now it takes me under five minutes.
The key is practice and knowing the right steps. Use this guide, try the mirror trick, and do not skip blending.
You will notice the difference right away. If this helped you, drop a comment below and tell me how it went.
Share this post with a friend who struggles with lashes – they will thank you for it!
Frequently Asked Questions
How to apply strip lashes for beginners step by step?
Start by measuring and trimming the lash strip to fit your eye. Apply glue, wait until tacky, then press the strip along your lash line using tweezers. Blend with liner and mascara.
How to apply strip lashes on yourself easily?
Use a flat mirror placed on a table and look down into it. This angle gives you a clear view of your lash line, making placement much easier and more accurate.
Can strip lashes look natural?
Yes, they can. Choose lightweight, natural-style lashes, place them close to your lash line, and always blend with mascara and eyeliner. These steps make strip lashes look like your own.
How long do strip lashes stay on?
Strip lashes can last anywhere from 8 to 16 hours depending on the glue quality and your skin type. Avoid oily products near your eyes to make them last longer.
How do I fix lifting lash corners during the day?
Carry a small tube of lash glue with you. Apply a tiny drop on the lifting corner, wait for it to get tacky, then press it back down and hold for about 10 seconds.