Fall is the best time to experiment with eye makeup. The warm shades, the cozy feel, it just works.
In this guide, you will find step-by-step fall eyeshadow looks for beginners, easy everyday styles, and glam options for nights out.
You will also learn which products to use and how to blend like a pro. I have been creating fall makeup looks for years, so everything here is practical and tested.
No confusing steps. No overwhelming product lists. Just clear, honest guidance to help you feel confident every time you pick up a brush.
What Are Fall Eyeshadow Looks?
Fall eyeshadow is all about warm, rich shades that match the season’s mood and energy.
Fall eyeshadow focuses on earthy, deep colors like brown, orange, copper, burgundy, and terracotta.
These shades bring warmth and depth to the eyes in a way that feels natural for the season.
The focus is on soft blending, layered color, and gentle smokey finishes.
Unlike summer makeup, which leans light and fresh with corals and peachy tones, fall eye makeup goes deeper and moodier.
The overall feel is grounded, warm, and rich without looking overdone or heavy on the eyes.
Step-by-Step Fall Eyeshadow Looks Tutorial for Beginners
Follow these seven steps to create the perfect fall eye look from scratch.
Step 1: Prep and Prime Your Eyelids

Start with clean eyelids and wipe away any oil or leftover product. Apply a thin layer of eye primer from lash line to brow bone.
Let it dry for about 30 seconds before moving on.
Step 2 : Apply a Neutral Base Shade

Pick a light neutral shade close to your skin tone, like soft beige or warm taupe.
Apply it all over the lid using a flat brush or your finger. This creates an even base so the next colors blend smoothly.
Step 3 : Build the Crease with Warm Tones

Pick a medium brown or terracotta shade and apply it to the crease using a fluffy brush. Move the brush in a windshield-wiper motion to blend the color into a soft arc.
Build slowly since it is easier to add more than to fix too much.
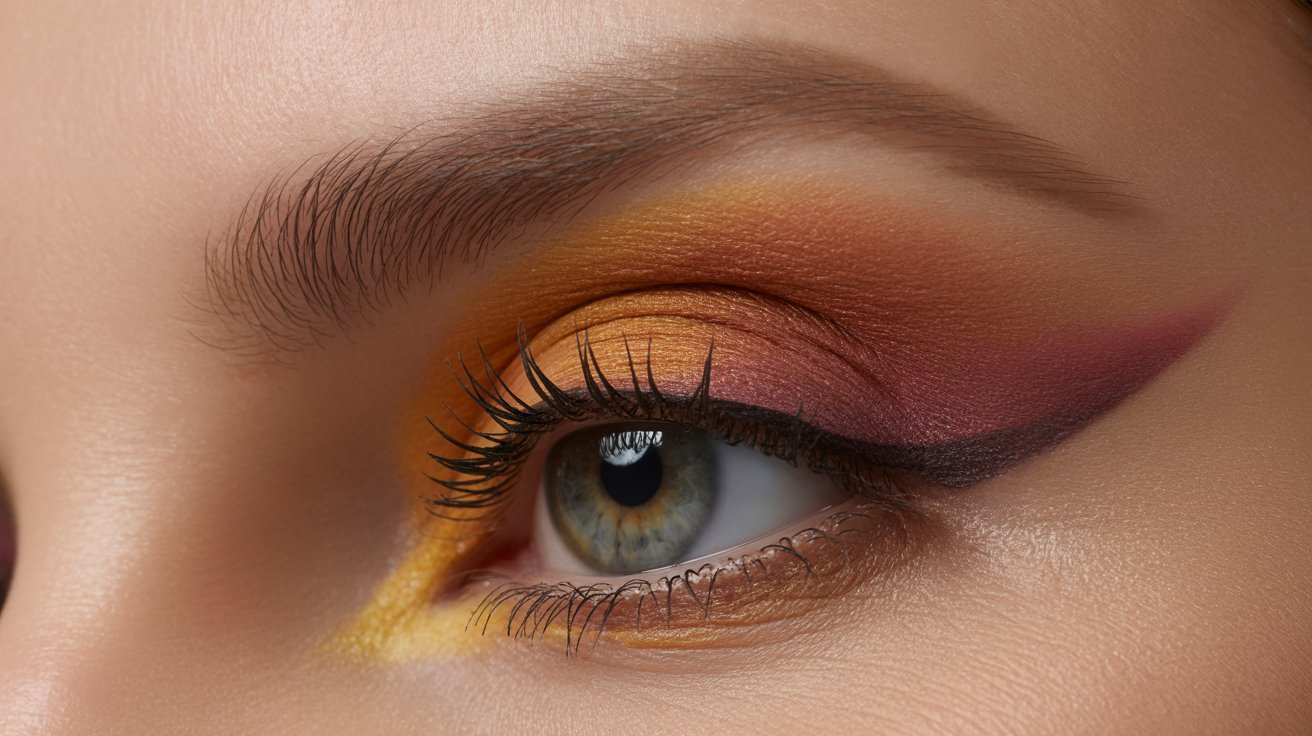
Step 4 : Add Color to the Lid (Fall Shades)
Pick your main lid color, orange, copper, or gold all work well for fall. Use a flat shader brush and press the color onto the center of the lid.
Blend the edges into the crease shade using your fluffy brush.
Step 5 : Highlight the Inner Corner and Brow Bone
Take a light shimmer or matte highlight shade and apply it to the inner corner of your eye. Add a small amount just below the arch of your brow as well.
This brightens the eyes and balances the deeper shades on the lid.
Step 6 : Define the Outer Corner and Lower Lash Line
Apply a darker shade like deep brown or burgundy to the outer corner in a soft V shape. Use a small smudge brush to apply the same shade along the lower lash line.
Smudge it gently for a soft smokey finish.
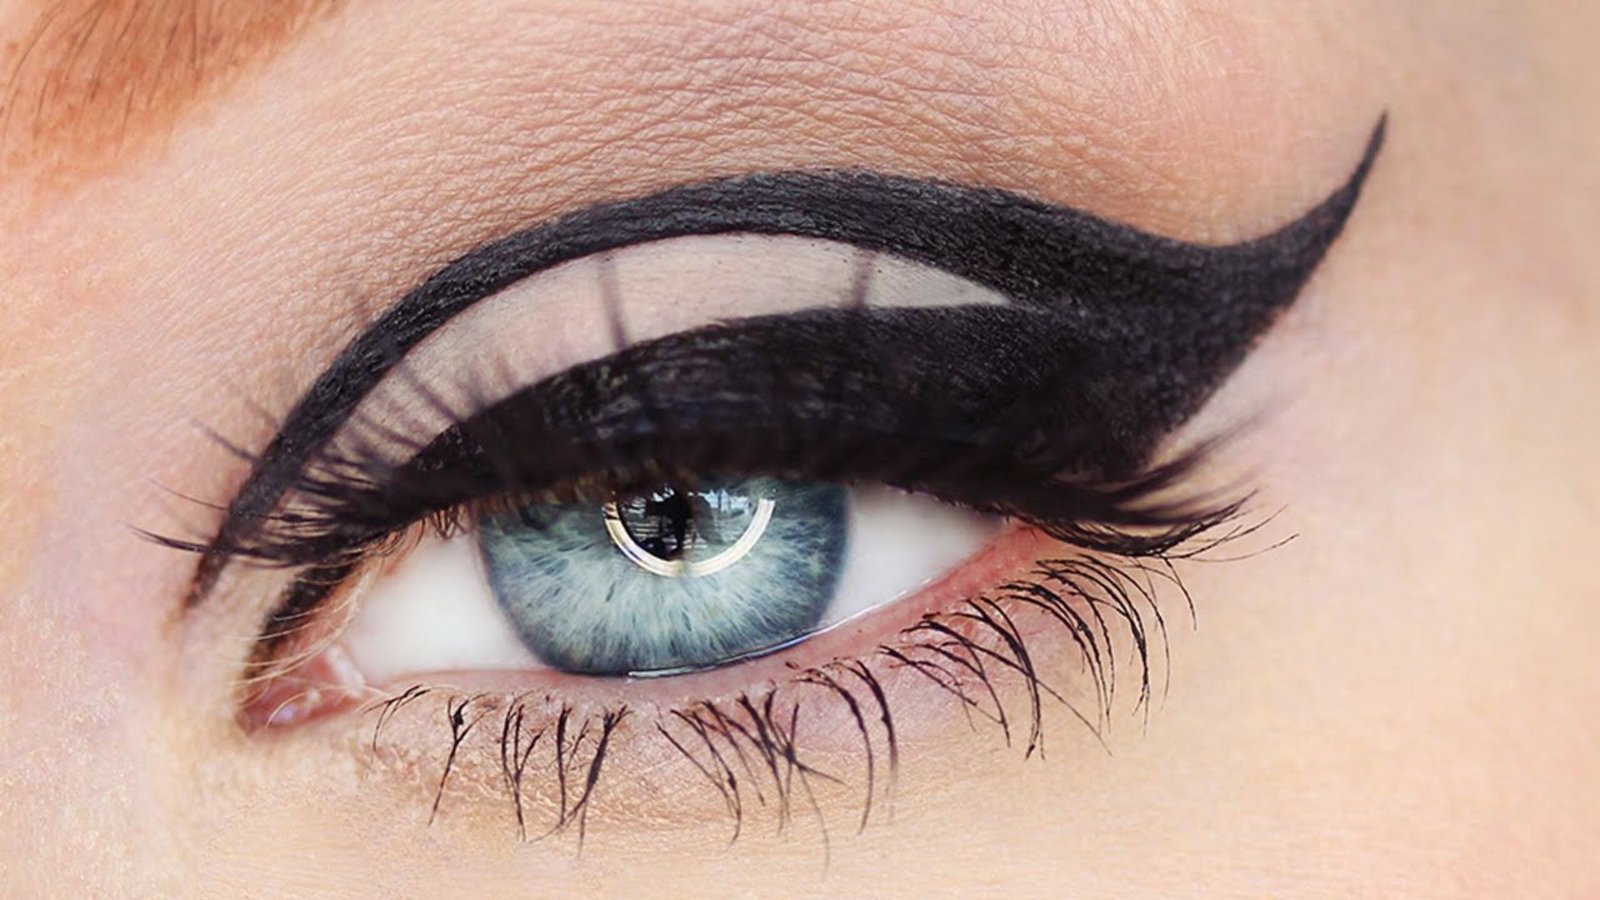
Step 7 : Finish with Liner, Mascara, and Brows

Line your upper lash line with a brown or black eyeliner, keeping it close to the lashes. Apply mascara to both upper and lower lashes for full definition.
Fill in your brows lightly to frame the whole look and you are done.
Easy Fall Eyeshadow Looks
These two looks are perfect for when you want something fast without skipping the fall feel.
5-Minute Fall Eyeshadow Look for Beginners
Apply a nude base all over the lid, sweep a medium brown into the crease, and add a touch of copper to the center of the lid with your finger.
Blend, apply mascara, and you are done. It is low effort but still looks put together.
Simple Everyday Fall Eyeshadow Look
Start with a warm beige on the lid and add a soft brown to the crease and outer corner. Blend well and skip heavy liner.
Just add mascara and this look is ready for school, work, or any casual day out.
Fall Smokey Eye Eyeshadow Looks
These looks work for evenings, events, or whenever you feel like going bold.
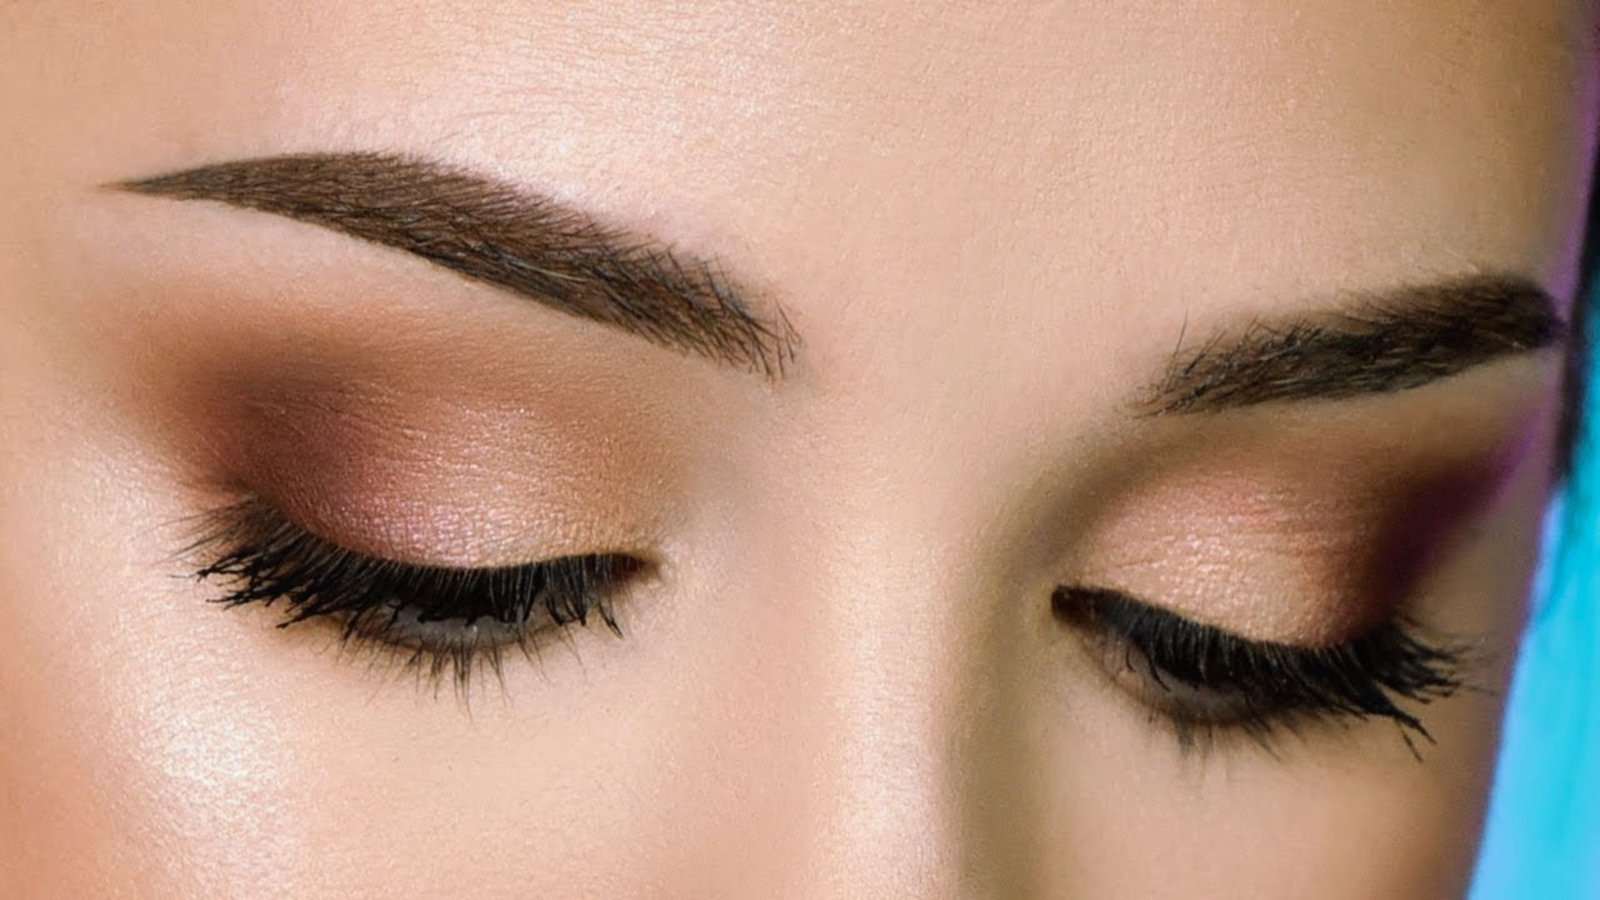
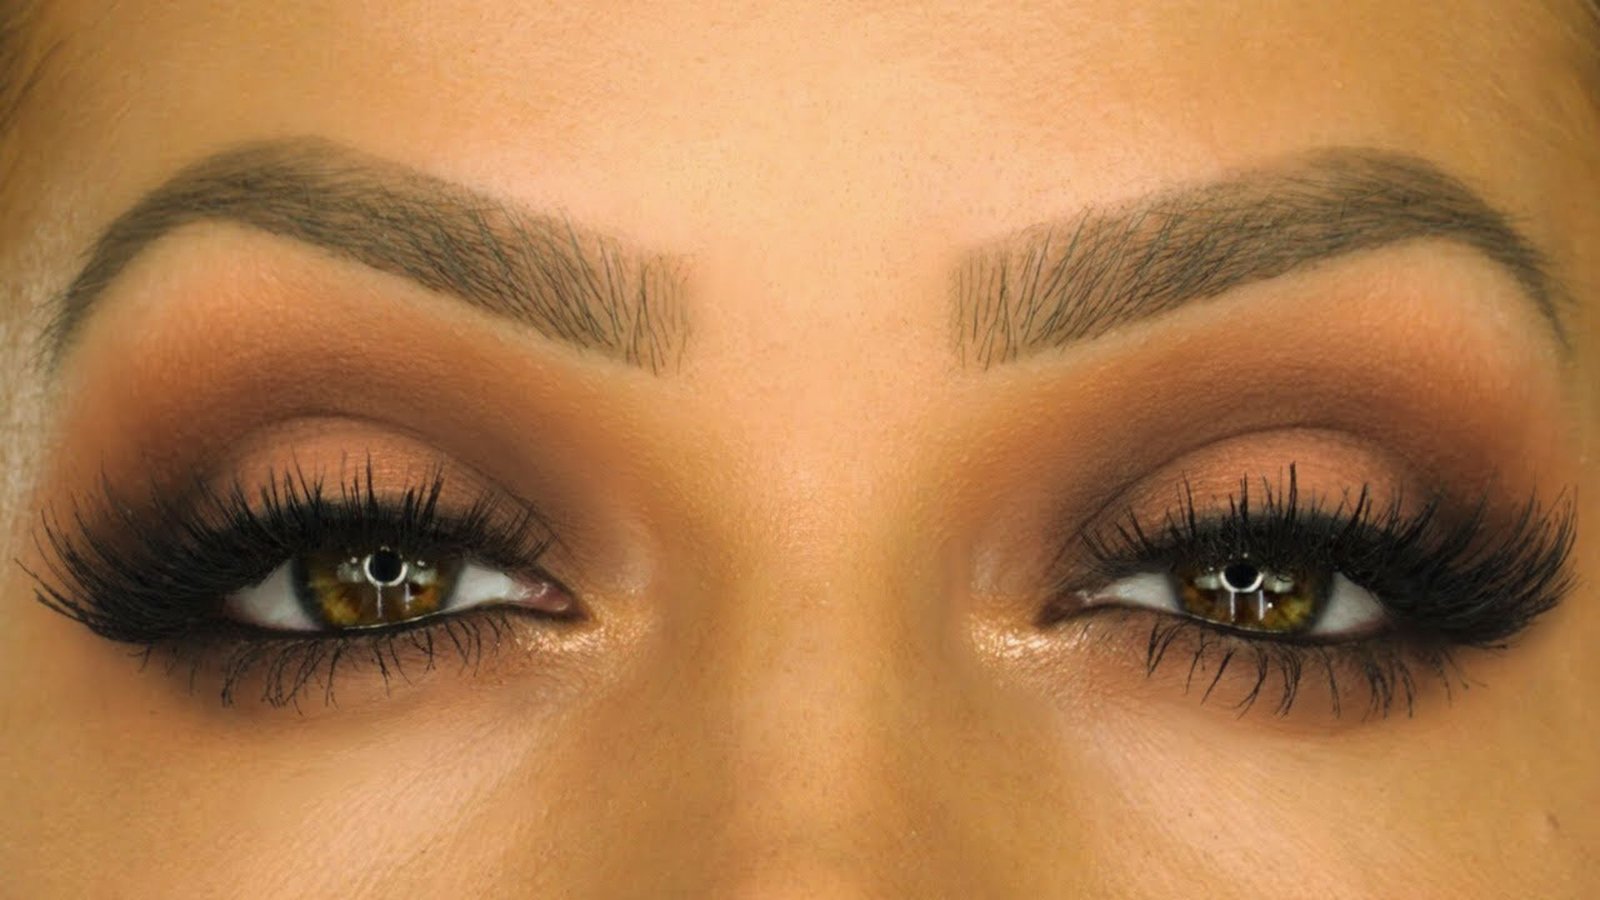
Classic Brown Smokey Eye

Start with a medium brown on the lid and crease, then layer a deeper brown on the outer corner and lower lash line.
Blend until there are no harsh edges. Finish with black liner on the waterline and plenty of mascara.
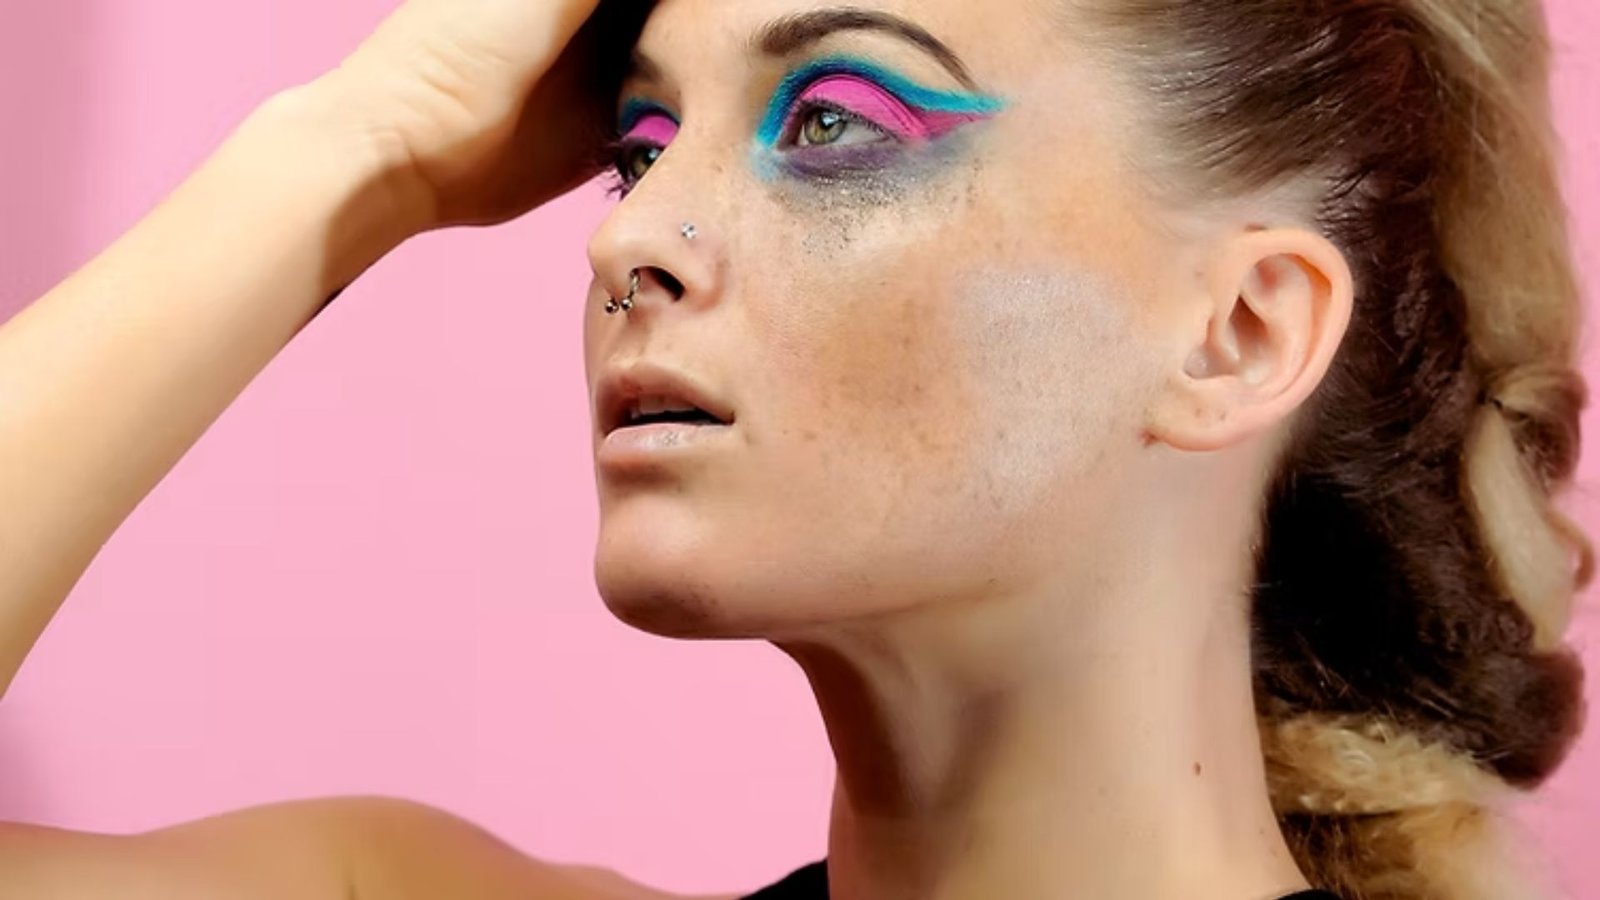
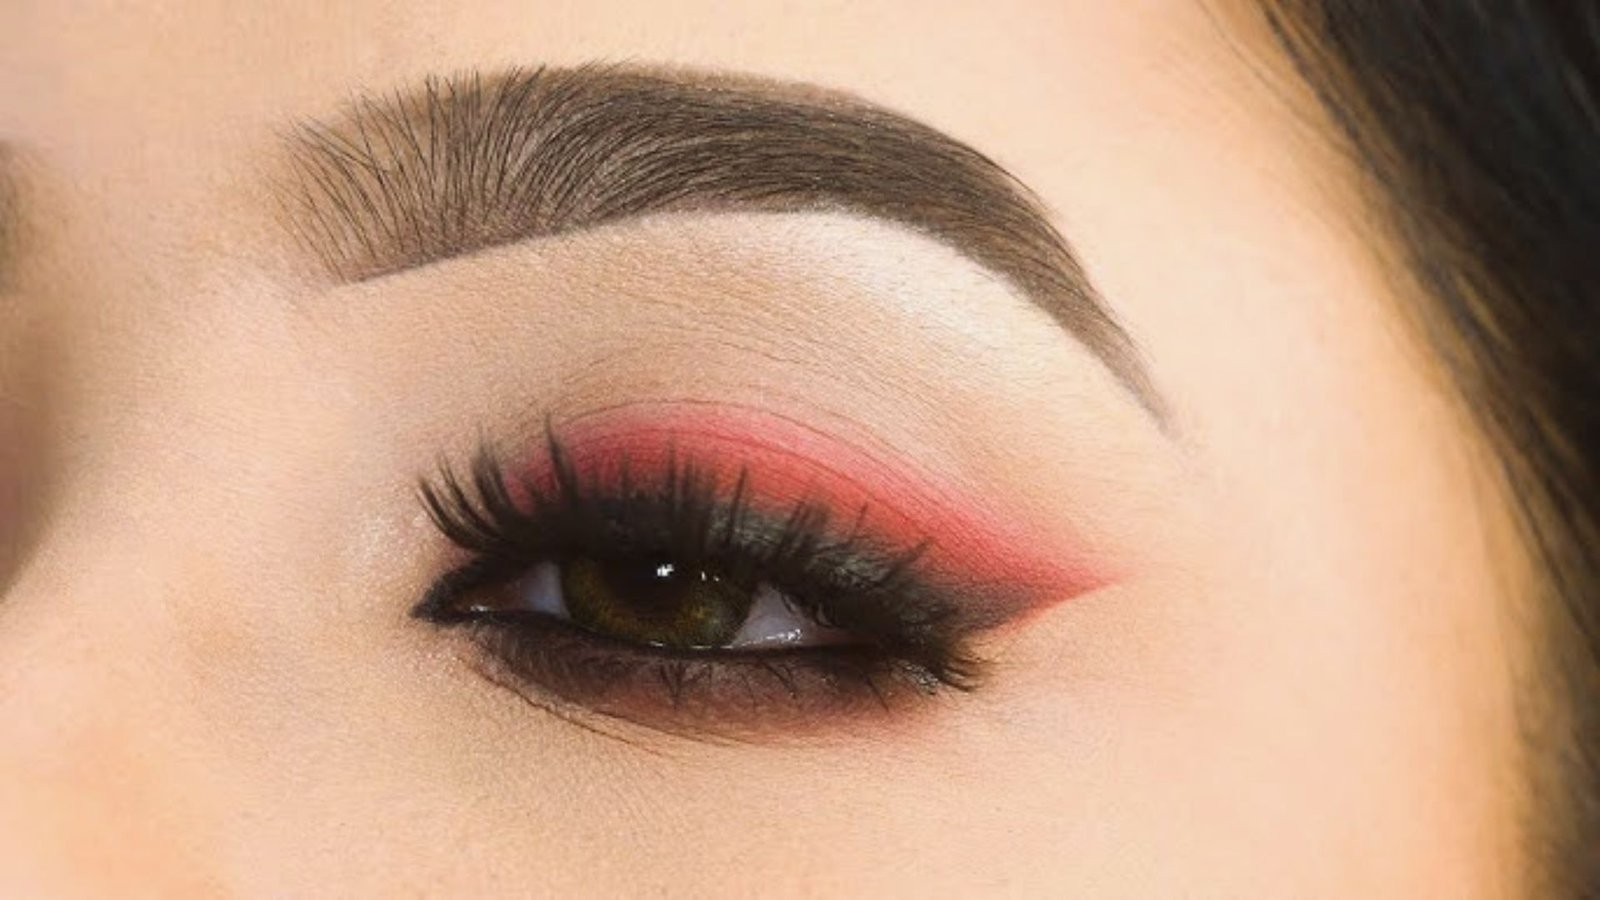
Burgundy or Plum Smokey Look

Apply a plum shade on the lid and blend it into the crease, then add deep burgundy to the outer corner and lower lash line.
Keep the rest of your makeup minimal so the eyes stay the focus. This look is bold but not overdone.
Soft Daytime Smokey Eye

Use softer shades like taupe and warm gray, blending well and keeping the edges very diffused. Skip heavy liner and go for mascara only.
The result is a relaxed smokey effect that still looks polished for daytime.
Cut Crease Fall Eyeshadow Looks for Defined Eyes

This technique uses a light shade to carve a clean line along the crease, separating the lid from the blended upper area.
Soft Cut Crease for Beginners
Apply a brown shade to the crease and blend it well, then use a small flat brush to apply a lighter shade just below the crease line.
You do not need a razor-sharp edge. A soft separation between the two colors is enough to get the effect.
Glitter Cut Crease for Special Occasions
Do your cut crease base with a deep brown, then pack a chunky glitter or glitter eyeshadow onto the lid inside the crease line.
The contrast between the dark upper area and the sparkly lid is striking. This version is perfect for parties or events.
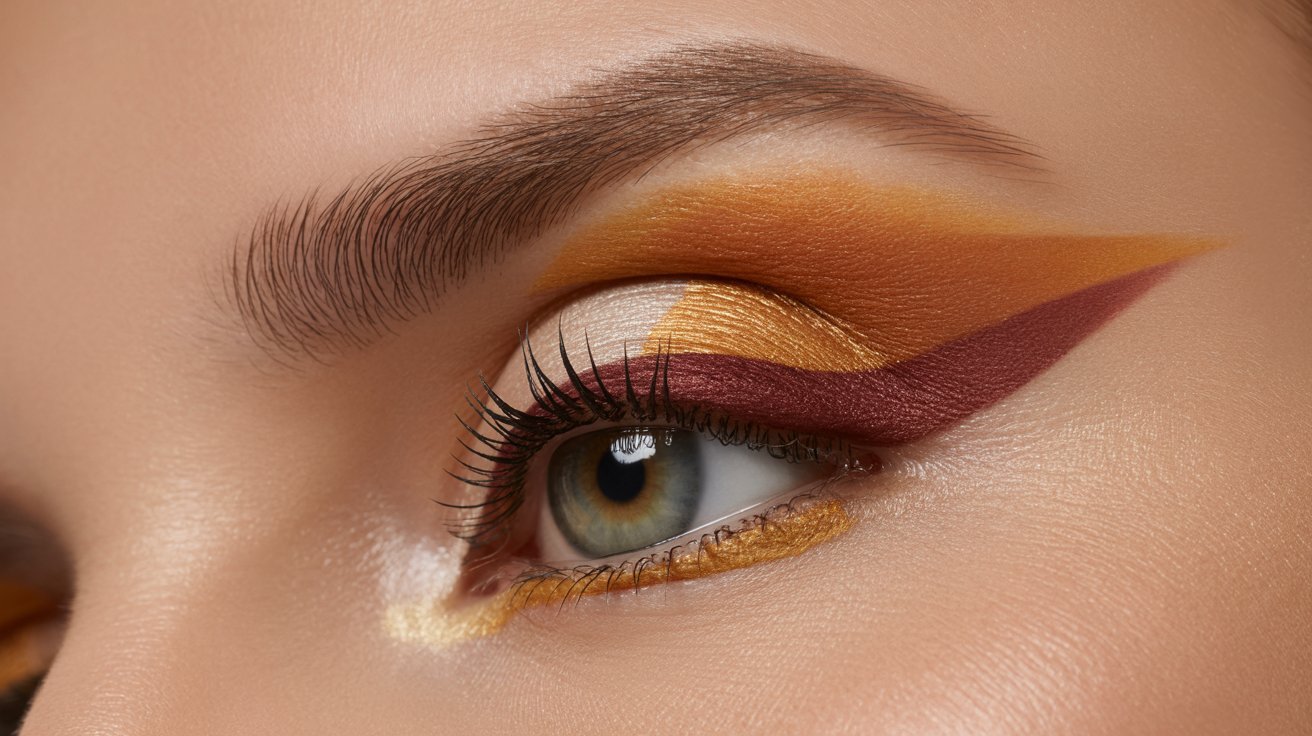
Matte Cut Crease Fall Look
Use a matte dark brown or rust shade in the crease and a matte terracotta or burnt orange on the lid. Use concealer to sharpen the crease line if needed.
Blend the outer edges but keep the crease division clear for a clean, editorial finish.
Pro Tips to Perfect Fall Eyeshadow Looks
Small habits make a big difference in how your eyeshadow turns out.
- Blend thoroughly to avoid harsh lines between shades
- Layer colors slowly and build intensity as you go
- Mix matte shades in the crease and shimmer shades on the lid for balance
- Always use primer before applying any eyeshadow for longer wear
- Tap off excess product from your brush before applying to avoid fallout
- Use a clean fluffy brush to soften any edges that look too sharp
- Apply darker shades with a light hand and build up gradually
Conclusion
I remember the first time I tried a fall eyeshadow look. I was nervous, unsure of the shades, and honestly a little scared of blending.
But once I started, it clicked. And it will click for you too. Fall eyeshadow looks are not complicated.
They are warm, wearable, and genuinely fun to create. Start with the step-by-step tutorial and slowly work your way up to smokey eyes and cut creases.
If this guide helped you, share it with a friend who loves makeup. Drop a comment below telling me which fall eyeshadow look you are trying first.
Frequently asked questions
What colors are best for fall eyeshadow looks?
Warm shades like brown, copper, terracotta, orange, and burgundy are the go-to colors for fall. These tones add depth and match the season’s cozy, earthy mood perfectly.
How do I apply fall eyeshadow looks step by step?
Start with a primer, apply a neutral base, blend warm tones into the crease, add color to the lid, highlight the inner corner, define the outer corner, and finish with liner and mascara. Taking it one step at a time makes the process simple and manageable.
Do fall eyeshadows look suitable for beginners?
Yes, absolutely. Many fall eyeshadow looks use just two or three shades and require only basic blending. The step-by-step tutorials in this guide are written with beginners in mind.
Can I wear fall eyeshadow looks daily?
Yes, you can. Soft brown and nude-based fall looks are low-key enough for everyday wear. Save the bolder smokey and cut crease styles for evenings or special occasions.
How do I make my eyeshadow last all day?
Always apply an eyeshadow primer before starting your look and set it with a neutral base shade. Avoid touching your eyes throughout the day. A setting spray over the finished look also helps it stay in place longer.